RTD Testing Tutorial
To facilitate the writing of your documentation, you can write Notebooks. Once included they will be rendered as the rest of your documentation pages!
By default, PH3 creates a tutorials folder inside docs:
docs/index.rsthas a link totutorials/index.rstdocs/tutorials/index.rstas a link to the notebook(s).
Feel free to adapt to your needs!
The <h*> structure of your notebook (#/##/…) will be applied to the navigation bar of your documentation. The actual filenames are ignored.
In particular:
Each notebook is rendered as a single webpage…
But you can create more than one entry with one unique notebook
How to use MyClass1
[1]:
from rtd_testing import MyClass1
[2]:
mc1 = MyClass1(a=42, b=51)
print(mc1)
(a, b) = 42, 51
[3]:
mc1.a_square
[3]:
1764
[4]:
mc1.divide_a_by_c_and_add_d(6, 40)
[4]:
47.0
How to use MyClass2
[5]:
from rtd_testing import MyClass2
[6]:
mc2 = MyClass2(a=9, b=4)
mc2.addition()
[6]:
13
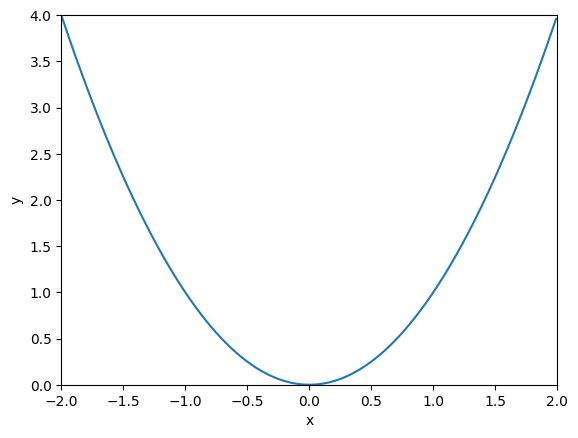
Advanced Tutorial Where we Display Graphs
One nice feature of using notebooks is that it is very easy to add graphs to your documentation.
Don’t forget to add the graphic packages you need to your poetry dependencies!
[7]:
from matplotlib import pyplot as plt
x = [(i/100-2) for i in range(400)]
y = [i**2 for i in x]
plt.plot(x, y, label='$x^2$')
plt.xlabel('x')
plt.ylabel('y')
plt.xlim([-2, 2])
plt.ylim([0, 4])
plt.show()